Today’s feature is a two-for-one! I’ve got a DIY for you to make your own out-of-town welcome bags, and then I’ve got a planning tip: what to put in them. I think this is often an afterthought for brides, but an area where you can make your guests (especially those who have traveled and spent money & effort to attend your wedding) feel appreciated!
I’ve been to a lot of weddings. AAAAA LOT! And as an out-of-town guest, I have always appreciated a good welcome bag. So when I was planning my wedding and knew a majority of our guests were coming to California from all over, I vowed to make them as comfortable as possible.
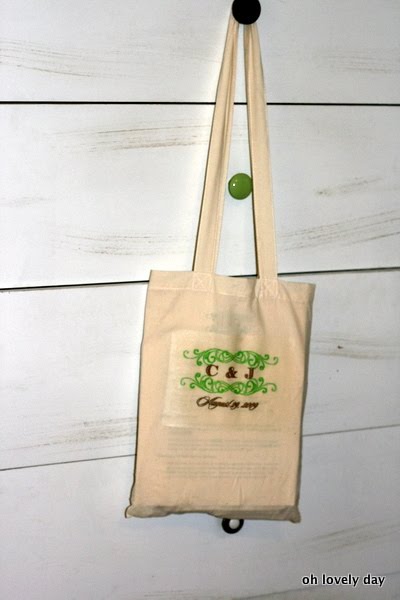
1. Canvas tote bags for each out-of-town guest or couple (from cheaptotes)
2. Iron-on printer paper (from an office supply store like office depot)
3. An iron
4. A printer
5. An image or design to print
Instructions:
1. Print a coordinating number of your image/design as you have totes.
2. Using a hard surface (a table works well- an ironing board does not), follow the directions on the transfer paper packaging to iron on your image. I laid an old pillow case down on the table, put the tote on top of that, and placed the printed paper where I wanted it on the tote. Then I ironed each image on until I had done enough totes for everyone, plus a few extras to be safe.

Has anyone else done their own DIY welcome bags? Do you have any things you think should be included in them that I didn’t mention? Let’s make a running list in the comments to help planning brides!